Fluffy Cotton Candy Fudge Recipe for Sweet Tooths
Sweet and dreamy cotton candy fudge captures childhood memories with its whimsical charm.
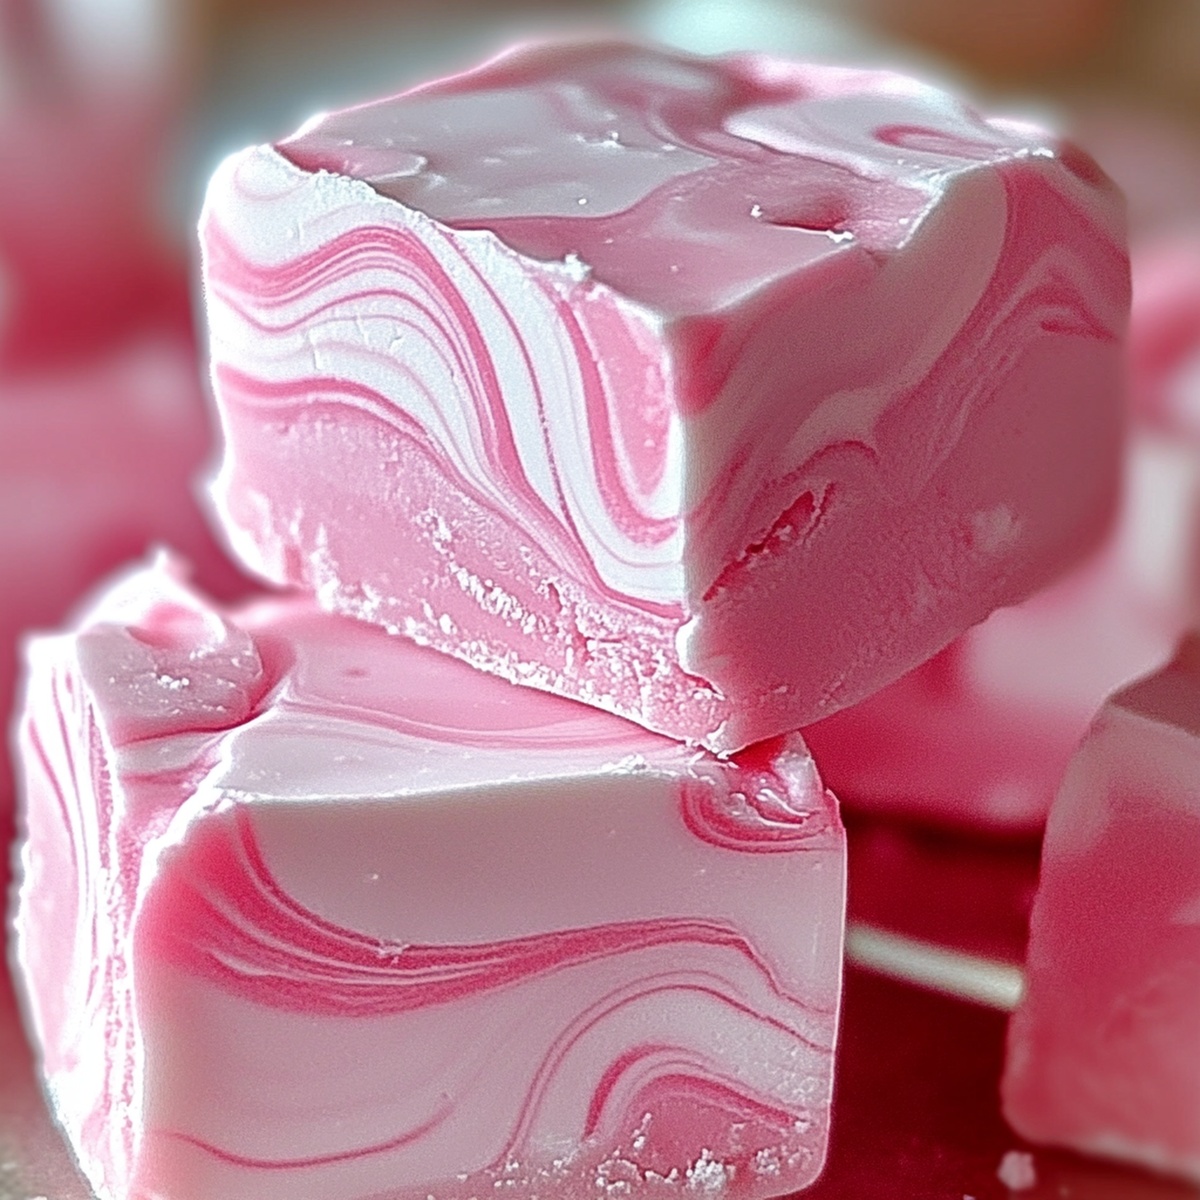
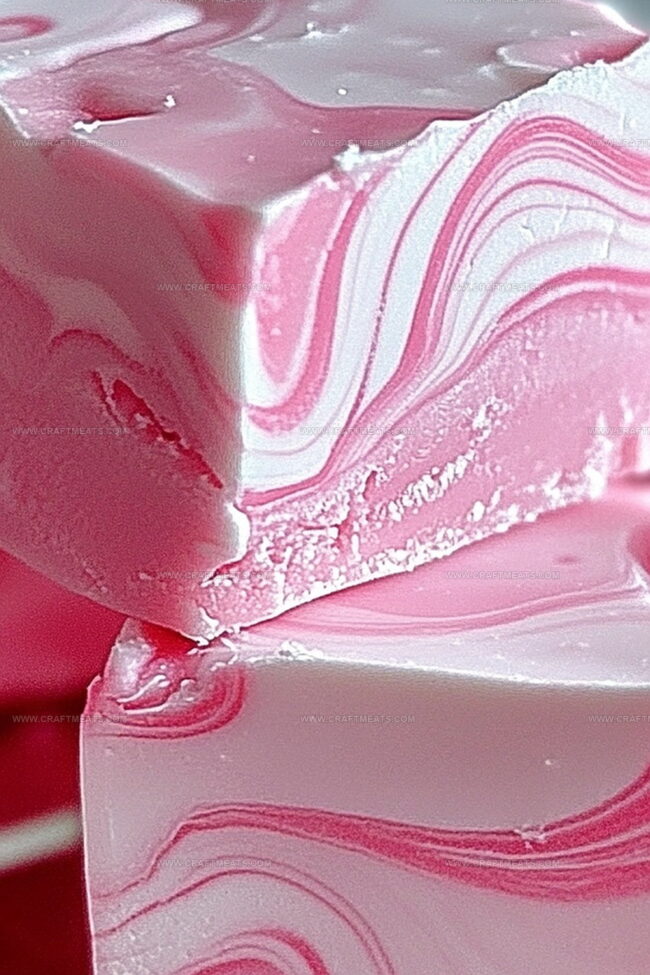
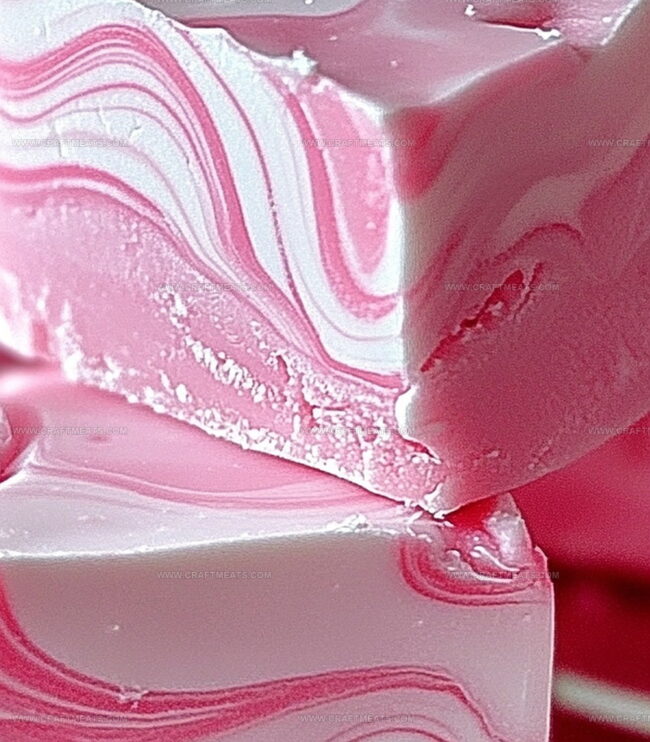
Soft pastel colors swirl through creamy layers of sugary delight.
This playful dessert brings a carnival-like spirit to your kitchen.
Each bite transports you back to fairground memories and carefree moments.
Vibrant and nostalgic, the fudge offers a quick and simple treat that delights both kids and adults.
The recipe promises a burst of sugary happiness in every mouthwatering square.
Dive into this magical confection and let the cotton candy magic unfold.
Quick Recipe Overview
Ingredients Needed For Cotton Candy Fudge
For Fudge Base:For Color and Decoration:For Preparation:Helpful Tools For Cotton Candy Fudge
Making Cotton Candy Fudge Made Easy
Grab a square pan and line it with parchment paper, creating soft overhanging edges that will help you lift out your delightful creation later.
Melt white chocolate with sweetened condensed milk in a saucepan, stirring gently until everything transforms into a silky, dreamy mixture. Remove from heat and add a splash of vanilla and cotton candy flavor for extra excitement.
Divide your luscious fudge into two bowls. Introduce playful pink and blue food colors, swirling each portion until the colors dance beautifully throughout the mixture.
Pour alternating dollops of pink and blue fudge into your prepared pan. Use a knife to create mesmerizing marble patterns that look like a whimsical cotton candy landscape.
Scatter colorful sprinkles across the top, adding a burst of joy and celebration to your sweet masterpiece.
Refrigerate your creation for several hours until firm. When ready, lift out the parchment, slice into squares, and enjoy your magical cotton candy fudge adventure.
Cotton Candy Fudge Tips And Ideas
Best Ways To Share Cotton Candy Fudge
Store Cotton Candy Fudge The Smart Way
Refrigerate fudge in an airtight container, separating layers with wax paper to prevent sticking. Keep chilled for maximum freshness up to 2 weeks.
Print
Whimsical Cotton Candy Fudge Recipe
- Total Time: 4 hours 15 minutes
- Yield: 11 1x
Description
Sweet cotton candy fudge brings childhood nostalgia to dessert lovers. Pastel-colored swirls of sugary delight melt smoothly, creating memories you’ll cherish at every festive gathering.
Ingredients
- 3 cups white chocolate chips
- 1 can (14 oz / 396 g) sweetened condensed milk
- 1 tsp vanilla extract
- 23 drops cotton candy flavoring (optional but recommended)
- Pink and blue gel food coloring
- Sprinkles (optional)
Instructions
- Preparation: Line a square baking pan with parchment paper, allowing slight overhang for effortless removal.
- Melting Stage: Gently melt white chocolate chips and sweetened condensed milk in a saucepan, stirring until achieving a luxurious, velvety consistency.
- Flavor Infusion: Remove from heat and blend vanilla extract and cotton candy flavoring thoroughly, ensuring even distribution of aromatic essence.
- Color Transformation: Divide the fudge mixture into two portions, then introduce pink and electric blue gel food colorings, folding delicately to create vibrant swirls without overmixing.
- Artistic Assembly: Layer alternating dollops of colored fudge into the prepared pan, then use a thin knife to create a mesmerizing marbled pattern by gently weaving colors together.
- Decorative Finishing: Scatter colorful confetti sprinkles across the surface for a playful, whimsical touch.
- Setting and Serving: Refrigerate for a minimum of four hours until the fudge solidifies completely. Remove from pan using parchment paper edges, slice into precise squares, and serve these delectable sweet morsels.
Notes
- Control Chocolate Melting: Use low, steady heat to prevent scorching; stir constantly for smooth, glossy texture without burning white chocolate chips.
- Master Color Blending: Fold food coloring gently to maintain distinct color swirls; avoid overmixing to preserve marbled aesthetic and prevent muddy appearance.
- Ensure Perfect Consistency: Allow fudge to set completely in refrigerator for minimum 4 hours; chilling helps develop firm, slice-able texture and enhances flavor melding.
- Customize Flavor Variations: Experiment with different extract combinations like strawberry or bubble gum flavoring to create unique cotton candy-inspired fudge experiences.
- Prep Time: 15 minutes
- Cook Time: 4 hours
- Category: Desserts, Snacks
- Method: Mixing
- Cuisine: American
Nutrition
- Serving Size: 11
- Calories: 220
- Sugar: 24 g
- Sodium: 60 mg
- Fat: 10 g
- Saturated Fat: 6 g
- Unsaturated Fat: 4 g
- Trans Fat: 0 g
- Carbohydrates: 30 g
- Fiber: 0 g
- Protein: 2 g
- Cholesterol: 15 mg
Liam O’Sullivan
Founder & Culinary Content Creator
Expertise
Recipe Development, Traditional Irish and European Cuisines, Food Styling and Photography, Culinary Education
Education
Dublin Institute of Technology (DIT) – School of Culinary Arts and Food Technology
Ballymaloe Cookery School
Isabella brings a global spark to the Craft Meats table. Born in Florence and trained at the Apicius International School of Hospitality, she blends classic Italian flavor with modern writing that’s easy to follow and hard to forget.
Her additional training at the Italian Chef Academy fueled her love for well-crafted dishes, especially ones that spotlight beautiful cuts of meat.
She’s a food writer with heart, and a deep love for storytelling through single recipes. Her goal? To help you cook with more confidence and a little more joy, no matter where you start.