
Chocolate Brownie Bread Recipe for Dessert Lovers
Rich, decadent brownie bread combines the best of two beloved desserts in a single, irresistible creation.
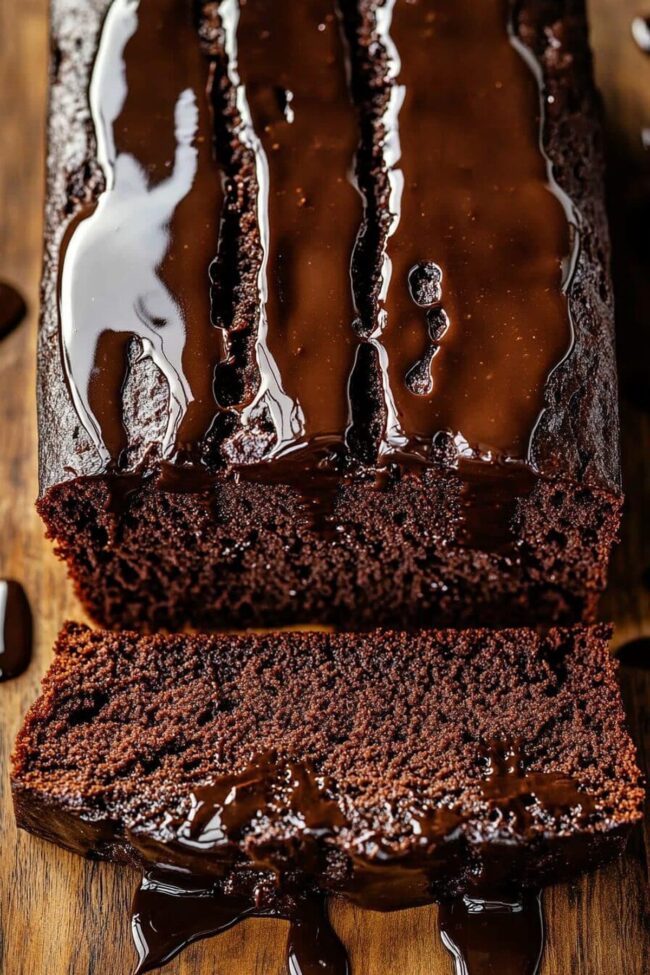
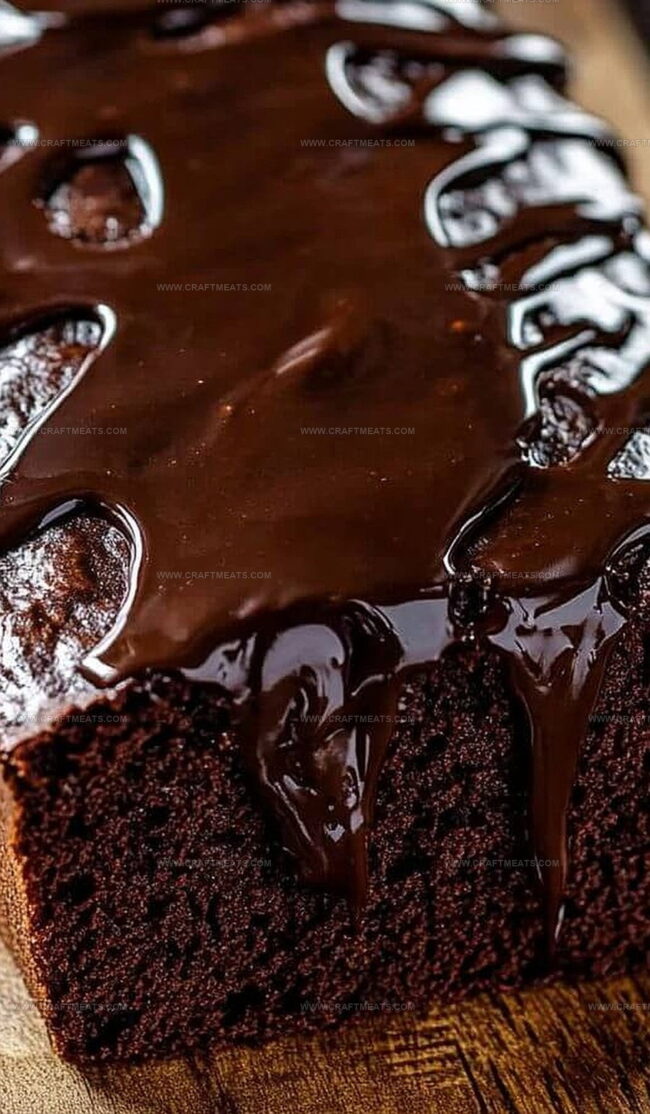
Imagine sinking your teeth into a moist, chocolate-infused slice that blends the fudgy intensity of classic brownies with the comforting texture of homemade bread.
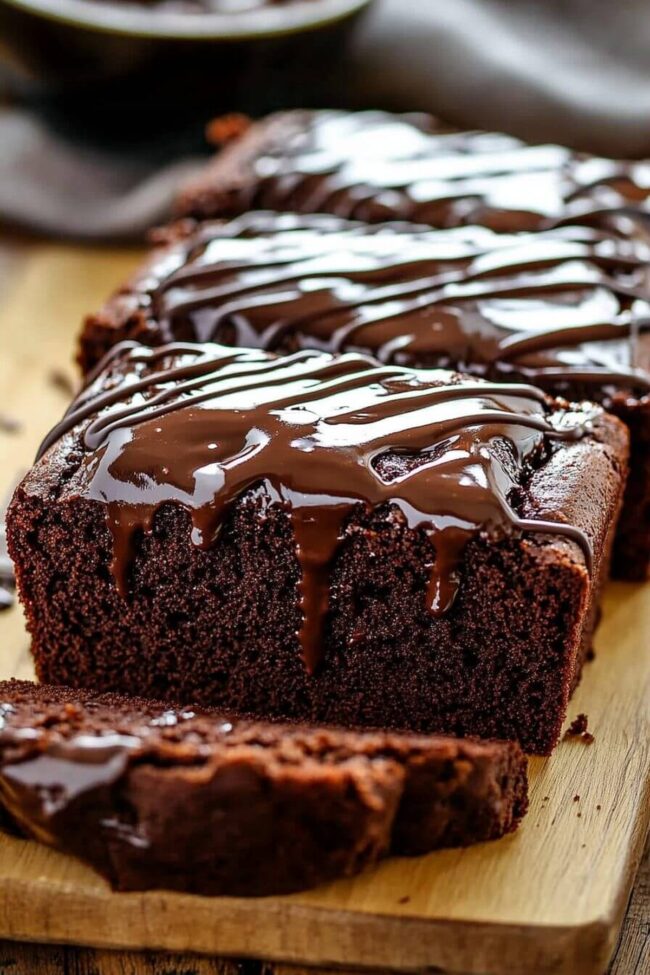
Dense and deeply satisfying, this unique treat promises a luxurious experience for serious chocolate enthusiasts.
Soft crumbs meld with intense cocoa notes, creating a sensory journey that tingles your taste buds.
Each bite delivers a perfect balance between cake-like structure and gooey chocolate indulgence.
Chocolate lovers will find themselves captivated by this innovative fusion that defies traditional dessert boundaries.
She craves something extraordinary, and this recipe delivers pure culinary magic that begs to be savored.
Brownie Bread That Merges Cake and Fudge
What You Need for Homemade Brownie Bread
Dry Ingredients:Wet Ingredients:Optional Add-Ins:How to Bake the Perfect Brownie Bread
Step 1: Prepare Baking Environment
Warm up the oven to 350°F (175°C). Get your 9×5-inch loaf pan ready by:Step 2: Mix Dry Ingredients
In a medium bowl, combine:Whisk ingredients until perfectly blended. Set aside.
Step 3: Create Wet Mixture
In a large mixing bowl, combine:Beat until smooth and creamy. Add:Mix thoroughly until ingredients are fully incorporated.
Step 4: Combine Wet and Dry Mixtures
Slowly introduce dry ingredients to wet mixture in three separate additions. Alternate with milk or buttermilk. Gently stir after each pour. Optional: Fold in chocolate chips for extra richness.
Step 5: Bake Chocolate Bread
Transfer batter to prepared loaf pan. Spread evenly across surface. Slide into preheated oven. Bake for 50-60 minutes. Check doneness by inserting toothpick – it should come out clean.
Step 6: Cool and Serve
Allow bread to rest in pan for 10 minutes. Carefully transfer to wire rack. Let cool completely before slicing. Enjoy your homemade chocolate bread!
Tips to Nail the Texture of Brownie Bread
Best Way to Store Brownie Bread Leftovers

Tasty Things to Serve with Brownie Bread
Flavor Add-Ins for Brownie Bread Fun
Frequently Asked Questions About Brownie Bread
Yes, you can! Dark cocoa powder will give your brownie bread a richer, more intense chocolate flavor. Just substitute it in the same quantity as the recipe suggests.
Use the toothpick test. Insert a toothpick into the center of the loaf – if it comes out clean or with just a few moist crumbs, the bread is done. If there’s wet batter on the toothpick, it needs more baking time.
Absolutely! Replace the all-purpose flour with a gluten-free flour blend. Make sure to choose a blend that’s designed for baking to maintain the bread’s texture and structure.
Keep the bread wrapped in plastic wrap or stored in an airtight container at room temperature. It will stay fresh for 3-4 days. For longer storage, you can refrigerate it for up to a week or freeze for up to a month.
Print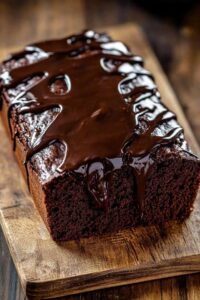
Brownie Bread Recipe
- Total Time: 1 hour 10 minutes
- Yield: 8 1x
Description
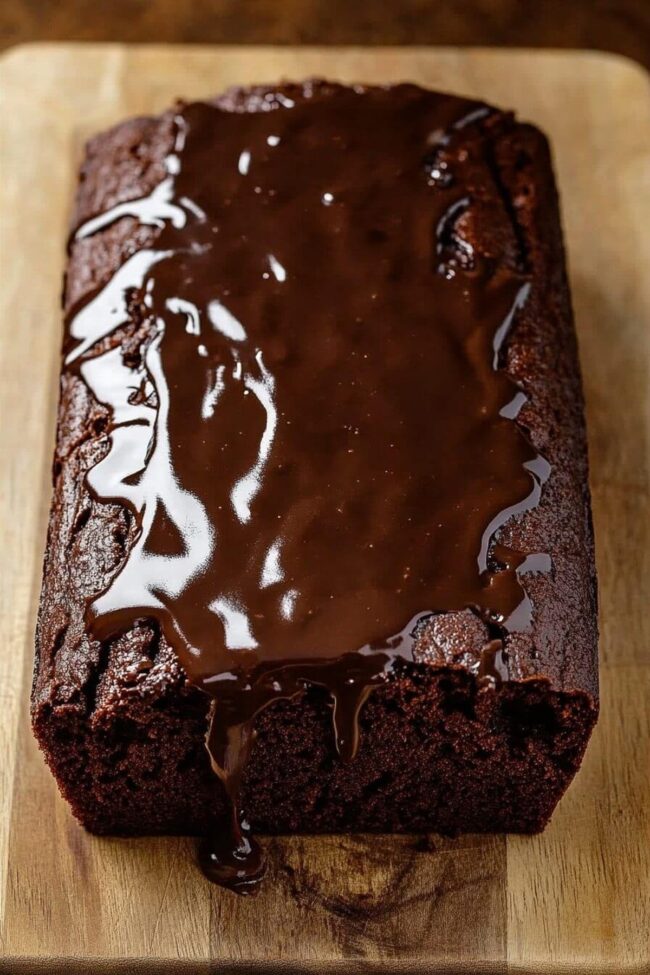
Delectable Brownie Bread merges chocolate’s richness with classic bread’s comfort, creating a sinful dessert that bridges sweet indulgence and bakery tradition. Moist chocolate layers promise pure bliss in each delightful slice, inviting you to savor culinary magic.
Ingredients
Dry Ingredients:
- 1 cup all-purpose flour
- ½ cup cocoa powder
- 1 teaspoon baking powder
- ½ teaspoon salt
Sugar and Sweeteners:
- 1 cup granulated sugar
- ½ cup brown sugar (packed)
Wet Ingredients and Additions:
- 2 large eggs
- ½ cup unsalted butter (melted)
- 1 teaspoon vanilla extract
- ½ cup milk or buttermilk
- 1 cup chocolate chips (optional)
Instructions
- Prepare a 9×5-inch loaf pan by coating with butter and a light dusting of flour, or lining with parchment paper for effortless removal.
- Sift together the dry ingredients – flour, cocoa powder, baking powder, and salt – ensuring a uniform mixture with no lumps.
- In a spacious mixing bowl, combine melted butter with granulated and brown sugars, whisking until the mixture transforms into a smooth, glossy texture.
- Introduce eggs and vanilla extract to the sugar mixture, blending thoroughly to create a rich, homogeneous base.
- Gradually incorporate the dry ingredient mixture into the wet ingredients, alternating with milk or buttermilk. Gently fold to maintain the batter’s airy consistency.
- Fold chocolate chips into the batter, distributing them evenly throughout the mixture for delightful chocolate pockets.
- Transfer the batter to the prepared loaf pan, smoothing the surface to ensure an even bake.
- Place in a preheated oven at 350°F (175°C) and bake for 50-60 minutes, monitoring until a toothpick inserted into the center emerges clean.
- Allow the loaf to rest in the pan for 10 minutes, enabling it to set and cool slightly.
- Carefully transfer the loaf to a wire rack, letting it cool completely before slicing to preserve its delicate structure.
Notes
- Check oven temperature precisely to ensure even baking and rich chocolate flavor.
- Grease pan thoroughly to prevent sticking and ensure easy bread removal.
- Use room temperature eggs for smoother batter and more consistent texture.
- Avoid overmixing the batter to keep the bread tender and prevent tough texture.
- Store cooled bread in an airtight container at room temperature for up to 4 days.
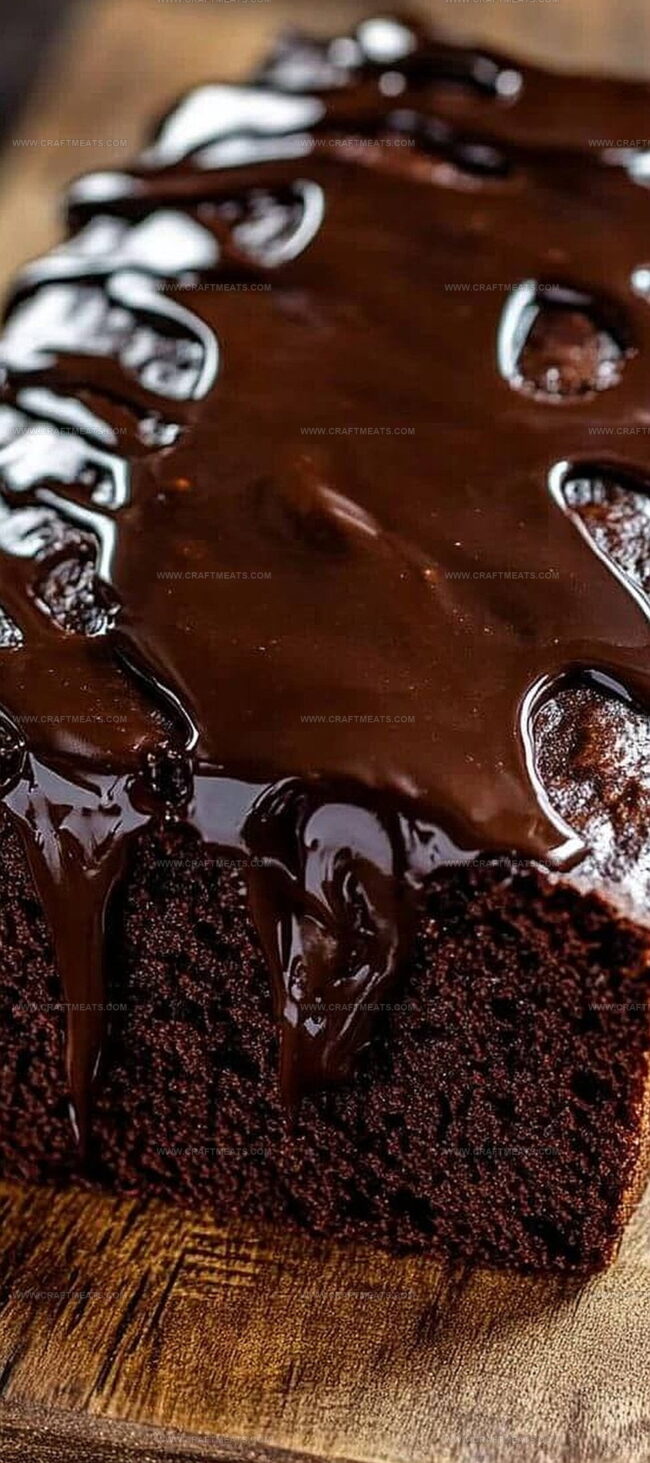
- For extra decadence, drizzle melted chocolate or sprinkle powdered sugar on top before serving.
- Prep Time: 15 minutes
- Cook Time: 55 minutes
- Category: Desserts, Snacks
- Method: Baking
- Cuisine: American
Nutrition
- Serving Size: 8
- Calories: 320
- Sugar: 28 g
- Sodium: 180 mg
- Fat: 16 g
- Saturated Fat: 10 g
- Unsaturated Fat: 6 g
- Trans Fat: 0 g
- Carbohydrates: 42 g
- Fiber: 2 g
- Protein: 4 g
- Cholesterol: 50 mg
Isabella Rossi
Founder & Culinary Content Creator
Expertise
Recipe Development, Traditional Irish and European Cuisines, Food Styling and Photography, Culinary Education
Education
Dublin Institute of Technology (DIT) – School of Culinary Arts and Food Technology
Ballymaloe Cookery School
Liam is the voice behind many of Craft Meats’ most flavorful features. With roots in Dublin’s smoky barbecue scene and a culinary degree from the Dublin Institute of Technology, he brings time-tested cooking techniques to life.
His training at Ballymaloe Cookery School sharpened his farm-to-table approach, giving him a deep respect for every ingredient he writes about.
He’s not about overcomplicating the process, just helping you cook meat that’s worth talking about. When he’s not writing or grilling, he’s out foraging or nerding out on regional spice blends to add to his next recipe.