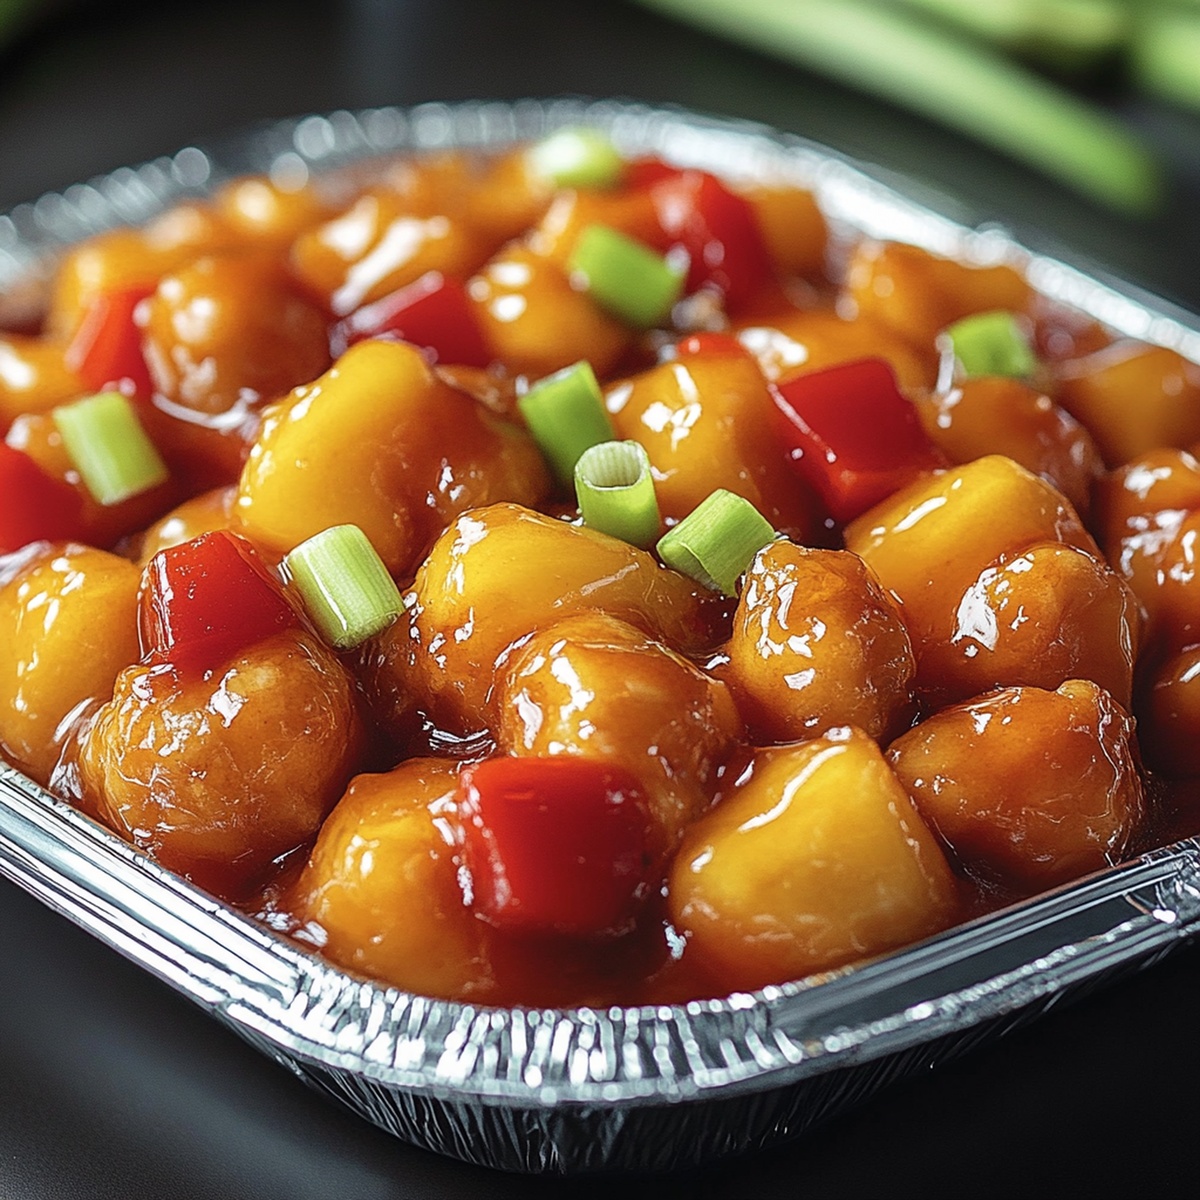
Baked Sweet and Sour Chicken Recipe for Weeknight Wins
Tender chicken pieces coated in a vibrant sweet and sour chicken recipe bring comfort and excitement to your dinner table.
The golden-brown exterior promises a delightful crunch with every bite.
Zesty flavors dance across your palate, creating a perfect balance of tangy and sweet.
Home cooks love how simple ingredients can create such a memorable meal.
This dish transforms an ordinary evening into a culinary celebration.
Each forkful delivers a delicious blend of textures and tastes that will have everyone asking for seconds.
Dive into this crowd-pleasing recipe and let your taste buds embark on a delicious adventure.
Quick Recipe Overview
Main Ingredients In Baked Sweet And Sour Chicken
For Chicken Preparation:For Sauce Components:For Cooking and Finishing:What Tools You’ll Need For Baked Sweet And Sour Chicken
How To Cook Baked Sweet And Sour Chicken
Grab your chicken pieces and coat them in a light, airy layer of cornstarch. Give each piece a quick dip in beaten eggs, creating a delicate protective shell that’ll crisp up beautifully.
Heat up a skillet with a splash of oil. Dance those chicken pieces around until they develop a gorgeous golden-brown exterior. This quick sear locks in those amazing flavors and creates a stunning color.
In a saucepan, whisk together a symphony of flavors – tangy vinegar, rich ketchup, sweet sugar, salty soy sauce, and a whisper of garlic. Let these ingredients mingle and dance, creating a sauce that’ll make taste buds sing.
Pour the vibrant sauce over your golden chicken in a baking dish. Let the oven work its magic, transforming these ingredients into a mouthwatering masterpiece. Every 15 minutes, give the chicken a gentle toss to ensure every inch gets coated in that incredible sauce.
Pull out your creation when the chicken looks glossy and the sauce has caramelized slightly. Sprinkle with fresh green onions or a handful of sesame seeds for that final touch of restaurant-quality glamour. Serve alongside fluffy rice and watch everyone’s eyes light up.
Tips For Juicy Baked Sweet And Sour Chicken
Serving Baked Sweet And Sour Chicken Ideas
Store Baked Sweet And Sour Chicken With Ease
Print
Crispy Sweet and Sour Chicken Recipe
- Total Time: 45 minutes
- Yield: 3 1x
Description
Classic sweet and sour chicken delights dinner tables with crispy battered chicken in tangy sauce. Home cooks appreciate this simple Chinese-American favorite that delivers restaurant-quality flavor at minimal effort.
Ingredients
- 1 lb (500 g) chicken breast, cut into bite-sized cubes
- 2 large eggs, beaten
- ½ cup (65 g) cornstarch
- 2 tbsps vegetable oil
- Salt, to taste
- Pepper, to taste
- ½ cup (120 ml) white vinegar
- ⅓ cup (80 ml) ketchup
- ½ cup (100 g) granulated sugar
- 1 tbsp soy sauce
- 1 tsp garlic powder
- 1 tsp cornstarch
- 1 tbsp water
Instructions
- Preparation: Activate the oven to 200C (400F), positioning the rack in the center. Lightly oil a baking dish or line with parchment paper to prevent adhesion.
- Coating: Establish two preparation zones – cornstarch and whisked eggs. Season chicken with salt and pepper. Dredge each piece thoroughly in cornstarch, then completely immerse in egg mixture, ensuring total coverage.
- Searing: Heat vegetable oil in a skillet over medium-high temperature. Brown chicken pieces in strategic batches until exterior achieves a golden, crisp texture. Transfer seared chicken to prepared baking dish with precision.
- Sauce Creation: Combine vinegar, ketchup, sugar, soy sauce, and garlic powder in a saucepan. Heat and stir until sugar dissolves completely. Integrate cornstarch slurry to transform sauce into a glossy, clingy consistency.
- Baking Process: Pour sauce evenly over chicken, guaranteeing thorough coating. Bake uncovered for 25-30 minutes, rotating chicken midway to ensure uniform cooking and flavor distribution.
- Serving: Plate over steamed rice, garnishing with chopped green onions or sesame seeds to enhance visual appeal and flavor complexity.
Notes
- Cornstarch Coating Technique: Ensure chicken pieces are completely and evenly coated with cornstarch before egg dipping to create a crispy, light exterior that locks in moisture.
- Oil Temperature Control: Maintain medium-high heat while searing chicken to achieve a perfect golden-brown crust without burning or undercooking the meat.
- Sauce Consistency Hack: Whisk cornstarch slurry thoroughly to prevent lumps and create a smooth, glossy sauce that clings perfectly to chicken pieces.
- Baking Precision: Rotate chicken midway through baking to ensure even cooking and consistent flavor distribution, preventing dry or unevenly cooked sections.
- Prep Time: 15 minutes
- Cook Time: 30 minutes
- Category: Dinner, Snacks
- Method: Baking
- Cuisine: Chinese
Nutrition
- Serving Size: 3
- Calories: 400
- Sugar: 20 g
- Sodium: 500 mg
- Fat: 10 g
- Saturated Fat: 1.5 g
- Unsaturated Fat: 8 g
- Trans Fat: 0 g
- Carbohydrates: 60 g
- Fiber: 0 g
- Protein: 25 g
- Cholesterol: 150 mg
Liam O’Sullivan
Founder & Culinary Content Creator
Expertise
Recipe Development, Traditional Irish and European Cuisines, Food Styling and Photography, Culinary Education
Education
Dublin Institute of Technology (DIT) – School of Culinary Arts and Food Technology
Ballymaloe Cookery School
Isabella brings a global spark to the Craft Meats table. Born in Florence and trained at the Apicius International School of Hospitality, she blends classic Italian flavor with modern writing that’s easy to follow and hard to forget.
Her additional training at the Italian Chef Academy fueled her love for well-crafted dishes, especially ones that spotlight beautiful cuts of meat.
She’s a food writer with heart, and a deep love for storytelling through single recipes. Her goal? To help you cook with more confidence and a little more joy, no matter where you start.