
Peppermint Red Velvet Blossom Cookie Recipe with a Festive Twist
Sweet, crumbly red velvet cookies with a peppermint twist become an instant holiday favorite.
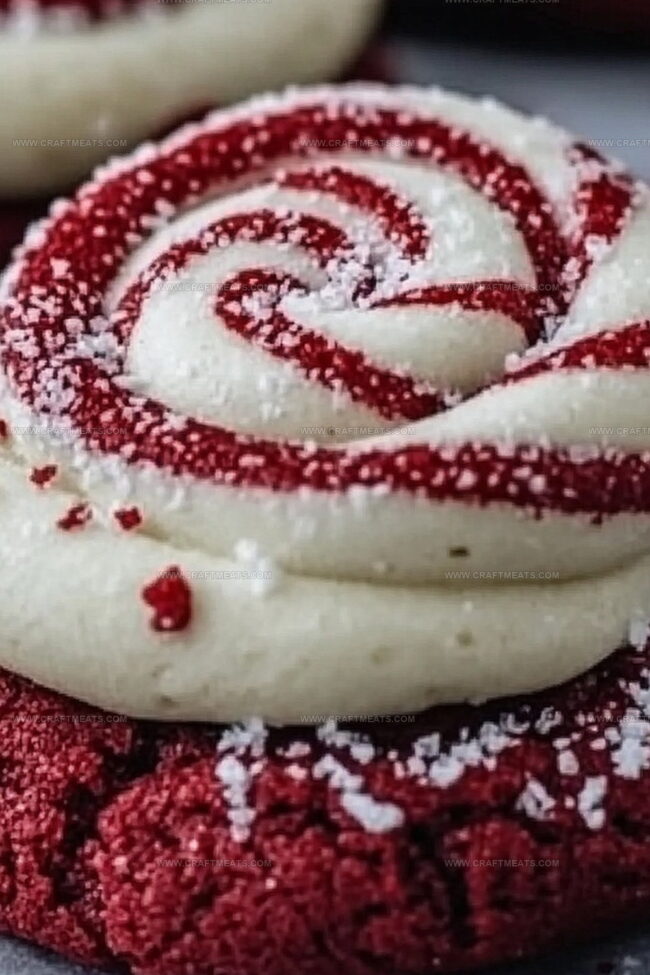
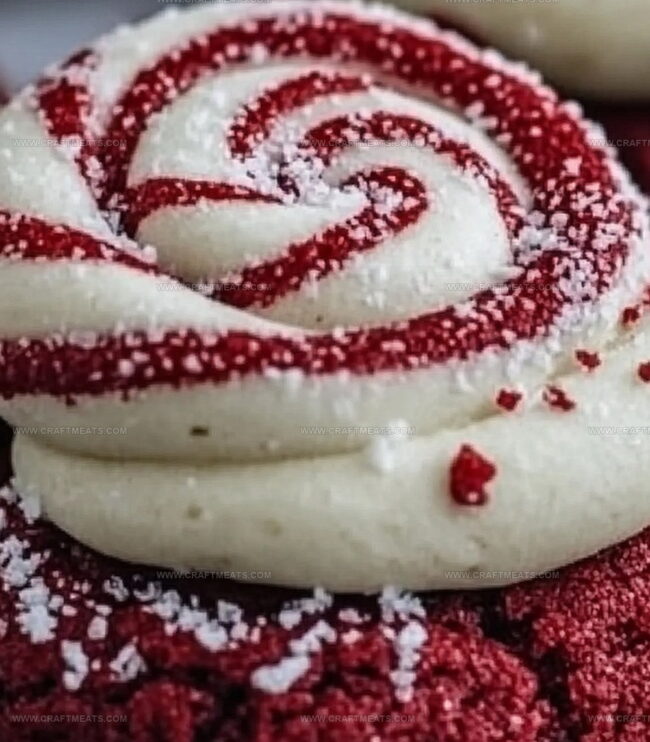
These delightful treats blend rich cocoa and festive peppermint in a single irresistible bite.
Soft, pillowy cookie bases welcome bright candy cane kisses nestled right in the center.
Deep crimson dough catches everyone’s eye with its stunning color and inviting texture.
Bakers adore how simple these cookies are to create, yet they look completely professional.
Each batch brings warmth and cheer to winter gatherings.
Dress your cookie plate with these spectacular red gems that sparkle with minty sweetness.
Quick Recipe Overview
What Goes Into Peppermint Red Velvet Blossom Cookies
For Dry Ingredients:For Wet and Sweet Ingredients:For Topping and Decoration:Tools For Peppermint Red Velvet Blossom Cookies
Steps To Bake Peppermint Red Velvet Blossom Cookies
Warm up the oven to a toasty 350F. Cover baking sheets with parchment paper for easy cookie removal.
Mix soft butter with sugars until they become fluffy and light. Add egg, vanilla, red coloring, and milk to create a vibrant base for your cookies. Slowly incorporate flour, cocoa, baking soda, and salt until everything blends smoothly.
Roll dough into small round balls. Optional: Roll each ball in extra sugar for a sparkly finish. Place cookies on prepared baking sheets, leaving space between them.
Slide cookies into the hot oven. Bake for about 9 minutes until edges look set but centers remain soft and tender.
Right after removing from the oven, gently press a peppermint Hersheys Kiss into the center of each warm cookie. Let cookies rest on a cooling rack until Kisses become firm and cookies reach room temperature.
Creative Twists For Peppermint Red Velvet Blossom Cookies
Serving Peppermint Red Velvet Blossom Cookies For Holidays
Keeping Peppermint Red Velvet Blossom Cookies Fresh
Print
Festive Peppermint Red Velvet Blossom Cookies Recipe
- Total Time: 40 minutes
- Yield: 23 1x
Description
Peppermint red velvet blossom cookies combine classic holiday charm with festive flavors. Chocolate kisses nestled atop rich red cookies create a delightful treat perfect for winter celebrations.
Ingredients
- ½ cup (115 g) unsalted butter, softened
- ¾ cup (150 g) granulated sugar
- ¼ cup (50 g) brown sugar, packed
- 1 large egg
- 1 ½ cups (190 g) all-purpose flour
- 2 tbsps cocoa powder
- 1 tsp red food coloring (gel recommended for vibrant color)
- 1 tsp vanilla extract
- 1 tbsp milk
- 1 tsp baking soda
- ¼ tsp salt
- 24 peppermint Hershey’s Kisses (unwrapped)
- Granulated sugar (for rolling, optional)
Instructions
- Preheat Preparation: Calibrate oven to 350F (175C) and line two baking sheets with parchment paper for optimal cookie development.
- Dry Ingredient Fusion: Whisk flour, cocoa powder, baking soda, and salt in a mixing bowl, creating a uniform dry foundation.
- Wet Mixture Transformation: Cream butter, granulated sugar, and brown sugar using an electric mixer until fluffy. Incorporate egg, vanilla extract, red food coloring, and milk, blending until smooth and consistent.
- Dough Assembly: Gradually combine dry and wet ingredients, mixing until just incorporated. If dough feels too soft, refrigerate for 15-20 minutes to firm up.
- Cookie Formation: Roll dough into 1-inch balls, optionally coating in granulated sugar. Arrange on prepared baking sheets, spacing 2 inches apart to allow spreading.
- Baking and Finishing: Bake for 8-10 minutes until edges set and centers remain slightly soft. Immediately after removing from oven, gently press a peppermint Hersheys Kiss into the center of each warm cookie.
- Cooling Process: Transfer cookies to a wire rack, allowing them to cool completely and the chocolate topping to set firmly.
Notes
- Temperature Precision: Keep oven temperature consistent at 350F to prevent uneven baking or burnt edges, ensuring perfectly textured cookies.
- Dough Consistency: Chill dough for 15-20 minutes if too soft, helping cookies maintain shape and preventing excessive spreading during baking.
- Kiss Placement Technique: Gently press chocolate kisses into warm cookies immediately after baking, allowing gentle melting without complete liquefaction.
- Color Enhancement: Add extra red food coloring gradually to achieve vibrant red velvet color without compromising dough texture.
- Prep Time: 20 minutes
- Cook Time: 20 minutes
- Category: Desserts, Snacks
- Method: Baking
- Cuisine: American
Nutrition
- Serving Size: 23
- Calories: 150
- Sugar: 12 g
- Sodium: 95 mg
- Fat: 7 g
- Saturated Fat: 4 g
- Unsaturated Fat: 2 g
- Trans Fat: 0 g
- Carbohydrates: 20 g
- Fiber: 0 g
- Protein: 1.5 g
- Cholesterol: 30 mg
Liam O’Sullivan
Founder & Culinary Content Creator
Expertise
Recipe Development, Traditional Irish and European Cuisines, Food Styling and Photography, Culinary Education
Education
Dublin Institute of Technology (DIT) – School of Culinary Arts and Food Technology
Ballymaloe Cookery School
Isabella brings a global spark to the Craft Meats table. Born in Florence and trained at the Apicius International School of Hospitality, she blends classic Italian flavor with modern writing that’s easy to follow and hard to forget.
Her additional training at the Italian Chef Academy fueled her love for well-crafted dishes, especially ones that spotlight beautiful cuts of meat.
She’s a food writer with heart, and a deep love for storytelling through single recipes. Her goal? To help you cook with more confidence and a little more joy, no matter where you start.